
Angular Startup
We’ve got a lot to do here, so a quick map:
- Create the Angular Project
- Add library modules
- Test project is working
- Installation of libraries
- Create a build routine
Creating the Angular Project
Drop to your command prompt and head into your working folder. Type ng new HTMLEditControl to create the folder/project, which you can open in Visual Studio Code once complete. (Keep command prompt open for a moment.)
Note: I would recommend keeping this Angular Project Folder and the AL Extension in separate folders, as we’ll only need the compiled/transpiled JS/CSS files to be included in the Extension.
Add Library Modules
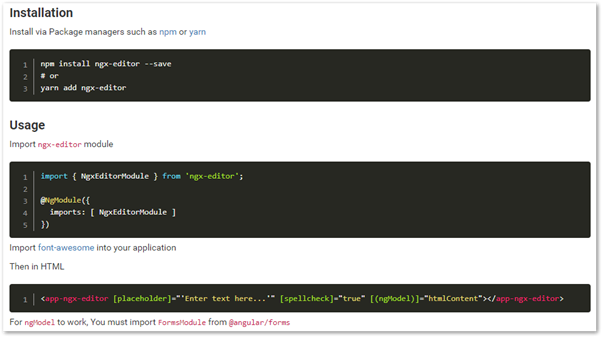
Our target goal is a very simple HTML/JS page that has one control on it, an HTML Editor that is open source called NgxEditor. To install this, in your command prompt, head into the HTMLEditControl folder and type npm install ngx-editor –save to add the library to your project. (You can also do this within the integrated Terminal in VSC, more on that later.)
In my case, I get warnings about needing two other peer libraries:
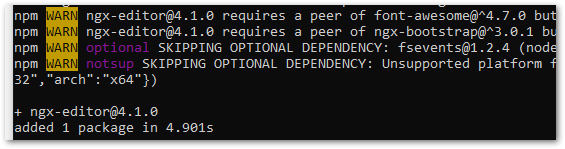
Font Awesome and NgxBootstrap are needed. If you’re unfamiliar with Angular, peer dependencies are a common need and must be installed manually. What you need is right in the error, so we’ll just type:
npm install font-awesome@^4.7.0 –save
npm install ngx-bootstrap@^3.0.1 –save
Test Project Working
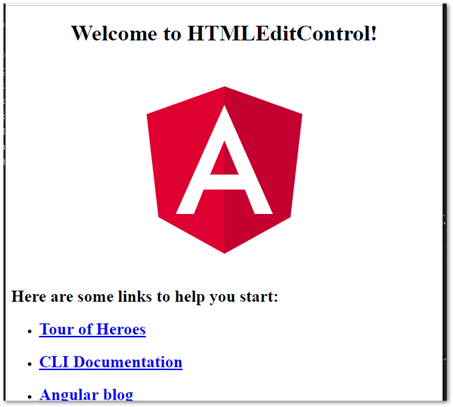
Now let’s make sure everything is healthy by opening up the default page. In Visual Studio Code, open the HTMLEditControl folder, then Terminal->New Terminal. Type ng serve and we should get a browser window like so:
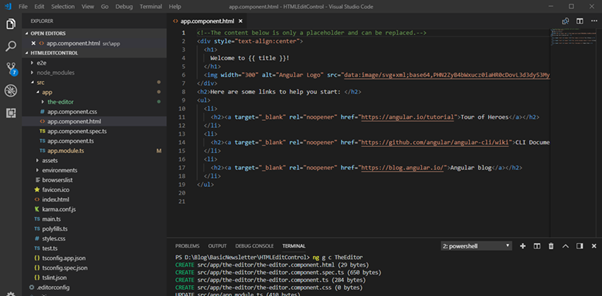
Our “application” in angular is a single control on a page, so let’s make a new component for that to replace the above. In another New Terminal, do ng g c TheEditor. (Generate Component if this is new to you.)
If you open up src/app/app.component.html, you’ll see the HTML for the above page:
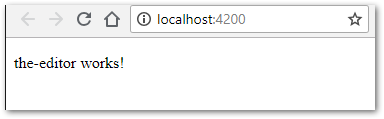
Clear all that out. We’ll only want to call our new component with <app-the-editor></app-the-editor>. Since Angular’s serve system supports live development, if you still have that window open, you’ll see it replaces the page (when you hit save) with just this tiny info:
Installation of Libraries
The earlier commands downloaded and added the libraries to our roster of available tools, but that doesn’t mean Angular knows we want them. For minimizing the resulting JS pile, only the necessary libraries you specify explicitly will be included. Where you specify that is in the src/app/app.module.ts file.
Let’s look at the installation guide for the NgxEditorModule:
We need to
- Import the module
- Import font-awesome
- Add the control
- And there’s a key notation about needing the FormsModule from @angular/forms
We’ll add the import up top (making it available as a datatype), then add it to the NgModule’s import section (making it relevant to our output). In our src/app/app.module.ts file:
import { BrowserModule } from ‘@angular/platform-browser’;
import { NgModule } from ‘@angular/core’;
/* Import the modules so
we can refer to their Classes */
import { NgxEditorModule } from ‘ngx-editor’;
import { AppComponent } from ‘./app.component’;
import { TheEditorComponent } from ‘./the-editor/the-editor.component’;
@NgModule({
declarations: [
AppComponent,
TheEditorComponent
],
imports: [
BrowserModule,
/* Import them into THIS module we’re making */
NgxEditorModule
],
providers: [],
bootstrap: [AppComponent]
})
export class AppModule { }
For font-awesome, which is primarily CSS data, according to the docs:
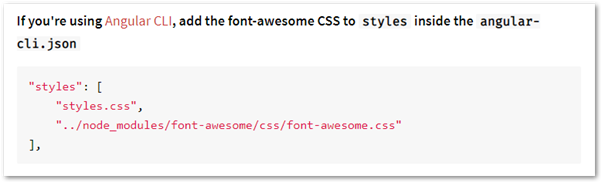
Easy enough, though in our Angular 6, it’s angular.json in the root folder. We’ll otherwise add it as it says and see what happens when we restart ng serve

Yup. Welcome to rapidly evolving tech and trailing documentation, a staple of the Angular ecosystem. It’s free, but you pay in having to figure more things out, so bear that in mind when you estimate projects.
To figure out what happened, take a look at the path in the error. We don’t need the preceding ../ section. Let’s remove that and ng serve again.
Now, pop open src/app/the-editor/the-editor-component.html. Let’s add a font-awesome tag in this to test the results. For example, how about User Circle? According to the documentation, we need:
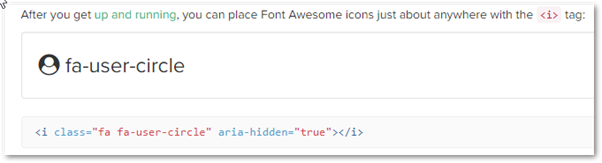
Our new the-editor.component.html:
<p>
the-editor works! <i class=“fa fa-user-circle”
aria-hidden=“true”></i>
</p>
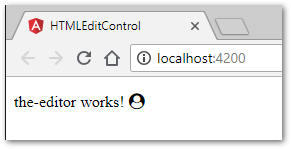
Results in:
For the FormsModule, we’ll need to revisit app.module.ts and add:
import { FormsModule } from ‘@angular/forms’; // <– NgModel lives here
and import it in our NgModule imports section.
I also ran into an undocumented dependency on HttpClient, so we need that as well. The final app.module.ts at this stage:
import { BrowserModule } from ‘@angular/platform-browser’;
import { NgModule } from ‘@angular/core’;
import { FormsModule } from ‘@angular/forms’; // <– NgModel lives here
import { HttpClientModule } from ‘@angular/common/http’;
/* Import the modules so we can refer to their Classes */
import { NgxEditorModule } from ‘ngx-editor’;
import { AppComponent } from ‘./app.component’;
import { TheEditorComponent } from ‘./the-editor/the-editor.component’;
@NgModule({
declarations: [
AppComponent,
TheEditorComponent
],
imports: [
BrowserModule,
/* Import them into THIS module we’re making */
NgxEditorModule,
FormsModule,
HttpClientModule
],
providers: [HttpClientModule],
bootstrap: [AppComponent]
})
export class AppModule { }
We need to update our the-editor.component.html file with the actual control:
<app-ngx-editor [placeholder]=“‘Enter text here…'”
[spellcheck]=“true”
[(ngModel)]=“htmlContent”
resizer=“basic”
(ngModelChange)=“onHTMLChange()”>
</app-ngx-editor>
For being able to compile this, we’ll also add a new variable to the-editor.component.ts file:
import { Component,OnInit } from ‘@angular/core’;
@Component({
selector: ‘app-the-editor’,
templateUrl: ‘./the-editor.component.html’,
styleUrls: [‘./the-editor.component.css’]
})
export class TheEditorComponent implements OnInit {
public htmlContent: string;
constructor() { }
ngOnInit() {
}
}
Restart your ng serve and you should finally be seeing this:

Angular Building
When Angular applications are built, there’s a lot going on and it’s well beyond the scope of this post. But, the important thing to know is that we’ll get a few key Javascript files, a CSS file, and various resource files.
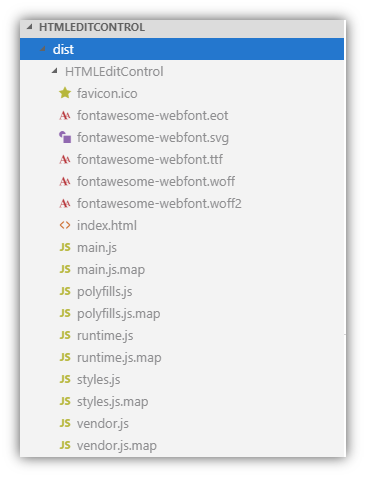
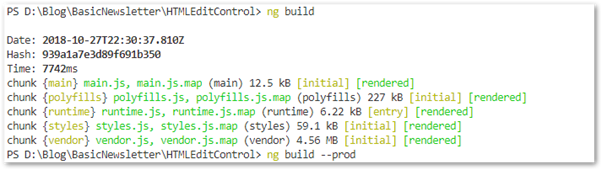
If you simply type ng build, you’ll see the array of files it makes:
The files are also huge:
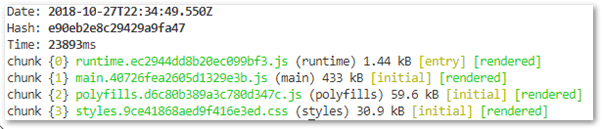
This is in debugging form, all the code at full size, with maps for debugging tools. We need to add –prod to our command (note, that’s dash dash prod), which at least makes the list shortened:
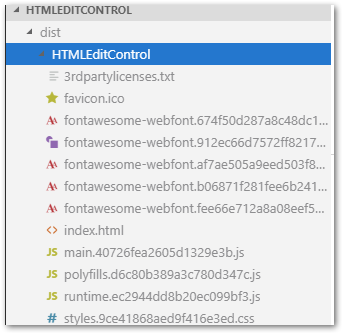
With a much smaller footprint:
But, all those hashes in the names are going to cause us some grief later, so let’s fix that with –output-hashing none (note, that’s dash dash again)
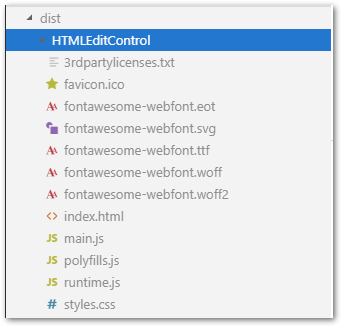
Excellent. A quick review of the files:
- The 3rdpartylicenses.txt file is an automatic rollup of the licensing information for libraries you included
- Favicon.ico will be used if we open a browser with this (we won’t)
- Fontawesome-* – the graphics/font data
- Index.html – our jumping off point
- main.js, polyfill.js, runtime.js files are the heart of the application we made. Polyfill and runtime have to do with core platform technologies and main has our code, plus library code
- styles.css is a grouped CSS file of all the various CSS data. For now, just Fontawesome styles are the main contents of this. As we create our own styles for components, those will be rolled into this.
With all that in place, we have more to do here, but mostly in integration with our extension that we don’t have yet. On to the next part!